The following describes a typical session using Phineus.
First pick the Open button and choose the pictures you want to work with. You can choose a whole group of pictures then simply use the Next button to step to the next picture when you're finished with the current one. The progress bar to the right of the toolbar will tell you how far through the group of pictures you are.

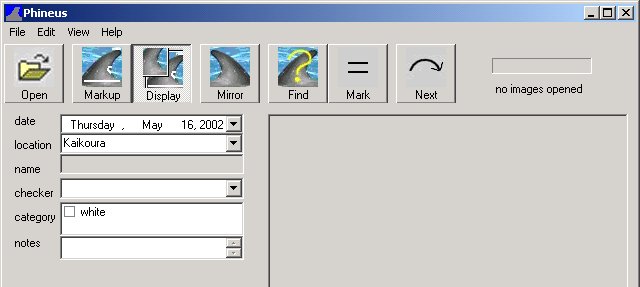
First verify the date and location are correct. This information will automatically be carried across to subsequent pictures. Add the picture to any relevant categories. If the fin is facing the wrong direction, click the Mirror button. This will be remembered so the fin is always displayed facing the correct direction.
Next, add markups to help the matching process. You trade a small amount of time marking up the fin for less time spent searching through a smaller list of possible matches. You will mark the top and bottom of the fin as well as the size and position of any notches in the fin. Pick the Markup button from the toolbar. Draw a line along the bottom of the fin. Then place a line at the top of the fin. Now draw an arc for each notch by picking the top and bottom points of the notch and a point on the inside. If you need to magnify the picture to help draw the notches, press and hold the mouse button over the area you want to see, then drag the mouse up to zoom in or down to zoom back out. If you start dragging the mouse left or right rather than up or down, you can pan the picture to the desired location.


Now press the Find button. Phineus will try to find all the pictures that are a reasonably close match to the current one, based on the markups. If it finds some possible matches, it will display all the possibilities on the right side of the window, allowing you to scroll through them. If you need to take a closer look at any of the pictures, you can zoom in on them by dragging the mouse up or down. Clicking on one of the pictures will enter its data into the fields on the left so you can see its date, location and other specifics. Clicking back on the open picture will again show you its data.

If you determine that one of the pictures is a match, click on it then pick the Mark button. If neither picture has been named, it will prompt you to give the dolphin a name. If one of the pictures has a name, the other picture will be given the same name. If the pictures are from the same day, it will automatically assign a temporary name to them.
When you're finished looking at the current picture, pick Next to step to the next one. When you're done with all the pictures, either open some more or quit. All data will automatically be saved.